
These old-fashioned sour cream cut-out sugar cookies are infamous in my family. They are a coveted heirloom recipe passed down from my great-great grandma. They bake up soft, fluffy, and buttery, with that cozy, homemade flavor that makes a kitchen feel warm and welcoming.
The dough comes together in minutes, rolls out easily, and fills the house with the scent of sugar and vanilla. The sour cream keeps the cookies perfectly moist and tender, giving them that light, cake-like texture that everyone loves. It’s a simple, old-fashioned recipe that feels like home no matter where you bake it.
Why You’ll Love These Old-Fashioned Sugar Cookies
These sour cream cut-out sugar cookies have that perfect balance of soft, fluffy texture and simple, old-fashioned flavor. They’re the kind of cookies that feel both nostalgic and timeless. You’ll bake them once and then make them again every season.
1. Soft, thick, and tender.
These cookies bake up light and cake-like on the inside with a delicate golden edge. The sour cream keeps them moist for days, so they never turn dry or crumbly.
2. Easy to roll and cut.
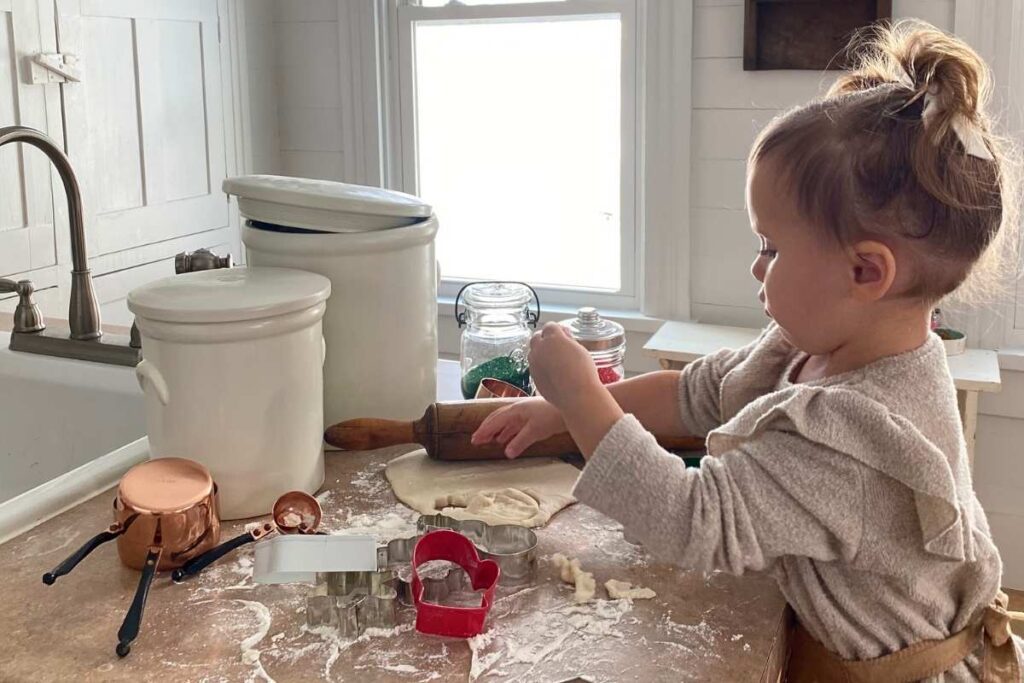
The dough is smooth and forgiving, perfect for rolling into any shape you like — hearts, stars, or classic rounds. It’s a recipe that makes baking feel simple and fun again.
3. Made with simple pantry ingredients.
Everything you need is likely already in your kitchen; butter, sugar, flour, eggs, and sour cream. No special tools or hard-to-find ingredients, just real, classic baking.
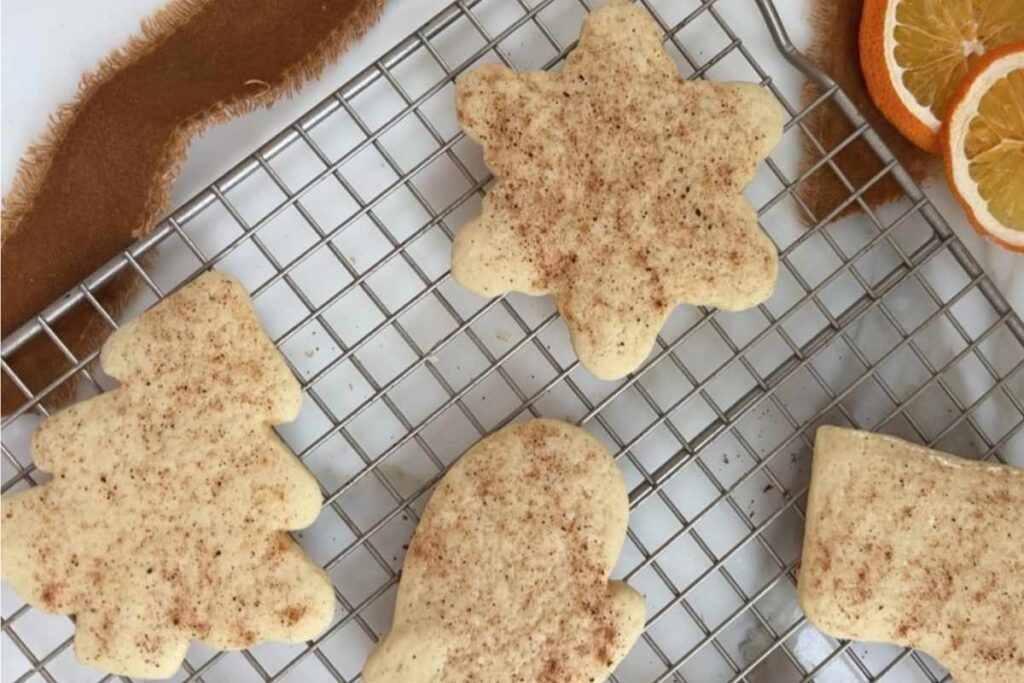
4. Perfect for any occasion.
Whether you decorate them with frosting for the holidays, sprinkle with sugar for birthdays, or serve plain alongside a cup of coffee, they always fit the moment.
5. A recipe that never fails.
This old-fashioned sugar cookie recipe has been passed down through generations in my family, and it’s still the one we all turn to. Every batch turns out soft, flavorful, and just sweet enough — proof that the simplest recipes are often the best.
Ingredients
Butter – Use softened, unsalted butter for the best flavor and texture. If you prefer, you can substitute homemade butter or ghee, just make sure it’s chilled before creaming with the sugar so the cookies stay soft and rich.
Sugar – Regular granulated sugar gives these cookies their classic sweetness and light crumb. You can also use organic cane sugar if that’s what you keep on hand in your pantry.
Eggs – Two well-beaten eggs add structure and richness to the dough. Fresh farm eggs will give the cookies a lovely golden color.
Sour cream – The secret to these cookies’ soft, fluffy texture. Use full-fat sour cream for the best result. The tang adds depth to the sweetness and keeps the cookies moist for days.
Pure Vanilla Extract – A splash of real vanilla brings warmth and that familiar bakery aroma. Homemade vanilla extract is simple to make and always adds a special touch to baked goods.
Baking soda and baking powder – These give the cookies just the right amount of lift, creating that light, cake-like texture that makes this recipe so beloved.
Salt – A small but essential ingredient that enhances every flavor and balances the sweetness.
All-purpose flour – The base of the dough. Spoon and level your flour when measuring to keep the cookies soft and not too dense.
Nutmeg or sprinkles (optional) – Sprinkle the tops before baking for a hint of spice or color. Nutmeg gives a cozy, old-fashioned flavor that pairs beautifully with the sour cream.
A full ingredient list with exact amounts can be found in the recipe card below.
How to Make Old-Fashioned Sour Cream Cut-Out Sugar Cookies
Step 1: Cream the butter and sugar
In a large mixing bowl, beat the softened butter and sugar together until light and fluffy. This step helps create that soft, tender texture once baked. You can use a stand mixer, hand mixer, or even a wooden spoon if you’re feeling traditional, just make sure the mixture looks pale and well combined.
Step 2: Add the wet ingredients
Mix in the beaten eggs, sour cream, and vanilla extract. The dough will look silky and smooth at this point. The sour cream is what keeps these cookies so soft and gives them that light, cake-like crumb.
Step 3: Combine the dry ingredients
In a separate bowl, whisk together the baking soda, baking powder, salt, and flour. Slowly add the dry ingredients to the wet mixture, one cup at a time, until a soft, moist dough forms. The dough should be slightly sticky, that’s what makes these cookies tender.
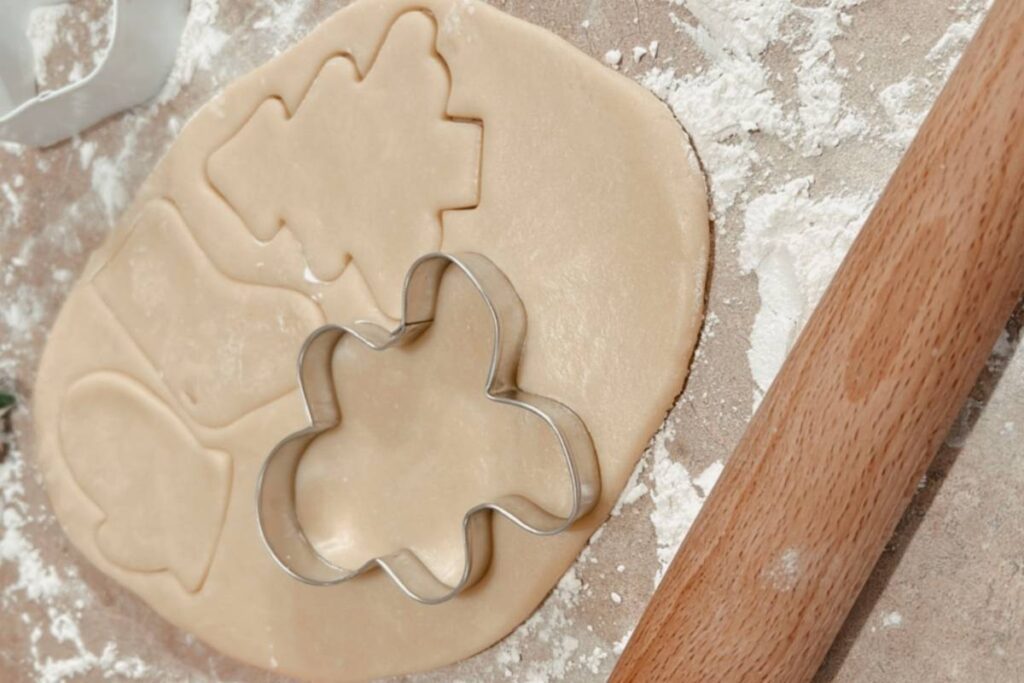
Step 4: Roll out the dough
Generously flour your countertop and rolling pin. Turn out a portion of the dough and gently roll it to about ¼ inch thick. If you prefer thicker, fluffier cookies, roll just a touch thicker.
Step 5: Cut out the cookies
Dip your cookie cutters in flour and cut out your favorite shapes. Classic rounds, stars, or hearts all work beautifully. Place them on an ungreased baking sheet, leaving a little space between each one.
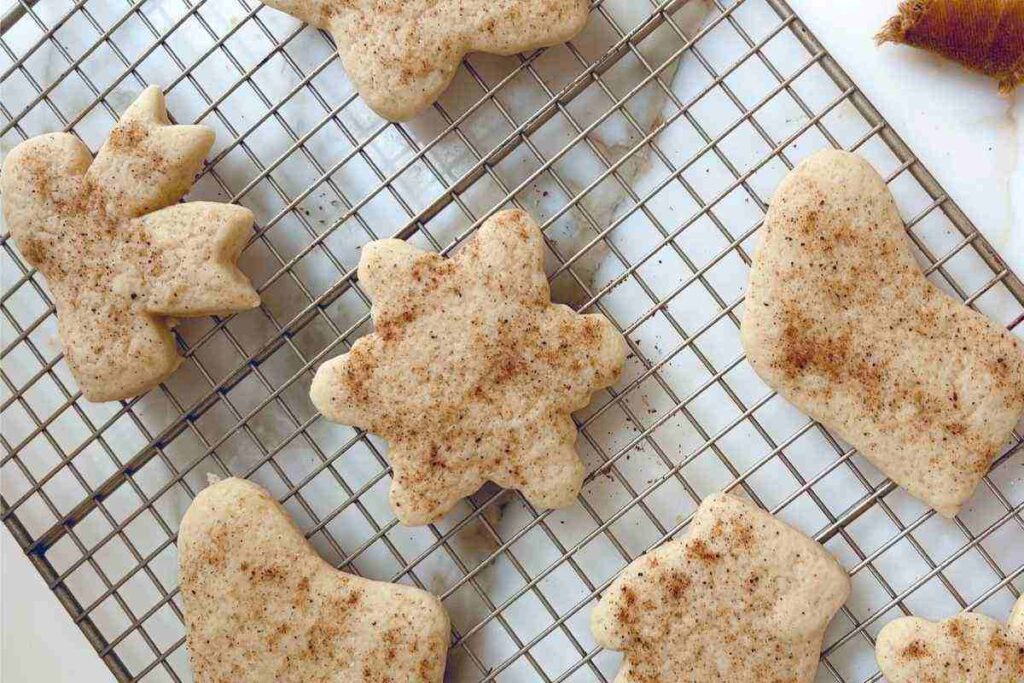
Step 6: Add your finishing touch
If you like, sprinkle the tops with nutmeg, coarse sugar, or festive sprinkles before baking. This adds a bit of sparkle and a subtle flavor.
Step 7: Bake to perfection
Bake in a preheated 325°F oven for 7–8 minutes, or until the tops look set and the bottoms are just barely golden. Avoid overbaking! These cookies should stay soft and pale.
Step 8: Cool and enjoy
Let the cookies rest on the baking sheet for a few minutes, then transfer them to a cooling rack. Once cooled, you can frost them, dust with powdered sugar, or enjoy them just as they are soft, sweet, and full of that comforting homemade flavor.
Tips for Perfect Cookies
Use full-fat sour cream.
The richness of full-fat sour cream is what keeps these cookies soft, tender, and moist for days. Low-fat versions can make the dough too sticky and the cookies less fluffy.
Don’t over-flour the dough.
It’s tempting to add extra flour if the dough feels sticky, but a slightly soft dough is the secret to that melt-in-your-mouth texture. Flour your surface and rolling pin well instead of adding too much to the dough itself.
Keep an eye on the bake time.
Bake just until the tops look set and the edges are barely turning golden. These cookies should stay light in color, that’s how you know they’ll be soft inside.
Chill if needed.
If your kitchen is warm or the dough feels too soft to roll, pop it in the refrigerator for 15–20 minutes. A short chill helps the dough handle easily without changing the texture.
Make them your own.
These cookies are perfect plain, but they also hold frosting, glaze, or a sprinkle of sugar beautifully. Around the holidays, I like to brush the tops with cream and dust them with coarse sugar before baking for a sparkling, old-fashioned finish.
Cool on the baking sheet first.
Let the cookies rest for a few minutes before moving them to a rack. They’ll finish setting up as they cool and stay soft all the way through.
Store properly.
Keep cookies in an airtight tin or container lined with parchment. They’ll stay fresh and soft for several days. For longer storage, you can freeze baked cookies for up to two months.
Bake for sharing.
This recipe makes a generous batch, perfect for giving away. Wrap a few in parchment and twine for a thoughtful, homemade gift that always brings a smile.
Frequently Asked Questions
Can I make the dough ahead of time?
Yes! You can make the dough up to a day in advance. Just cover it tightly with plastic wrap and store it in the refrigerator. When you’re ready to bake, let it sit at room temperature for about 15 minutes before rolling it out. The short rest makes it easier to handle and keeps the cookies soft and fluffy.
Can I freeze these cookies?
Absolutely. You can freeze the baked cookies or the unbaked dough. For baked cookies, let them cool completely, then layer them between sheets of parchment paper in an airtight container or freezer bag. They’ll stay fresh for up to two months. To freeze the dough, roll it into a flat disk, wrap it well, and thaw before rolling and cutting.
How do I keep sugar cookies soft?
The key is not to overbake. These cookies should stay pale and just set on top. Once cooled, store them in an airtight container lined with parchment paper. Adding a small slice of bread to the container can help keep moisture in, a simple old-fashioned trick that really works.
Can I frost these cookies?
Yes! They’re wonderful with a simple vanilla glaze, buttercream frosting, or cream cheese icing. Let the cookies cool completely before frosting so the icing doesn’t melt. You can also sprinkle coarse sugar or nutmeg before baking for a plain, traditional version.
Can I use Greek yogurt instead of sour cream?
In a pinch, you can substitute full-fat Greek yogurt for the sour cream. The cookies will still turn out soft and tender, though the flavor will be a little tangier.
Do I have to chill the dough?
Not always. The dough is soft but rolls well as long as your kitchen isn’t too warm. If you find it sticking to your rolling pin or cutters, a short 15–20 minute chill in the refrigerator will make it easier to handle.
What kind of cookie cutters work best?
Any metal or sturdy plastic cookie cutters will work well. Since the dough is thick and soft, sharper-edged cutters make the cleanest shapes. Flour them lightly before each cut for easy release.
More Heirloom Recipes You’ll Love
Best Sourdough Apple Cider Donut Cake (Easy, From Scratch)
Best Naturally Sweetened Banana Muffins with Maple Syrup and Honey
The Best Maple and Brown Sugar Pecan Hand Pies
Old-Fashioned Sour Cream Cut-Out Sugar Cookies

Ingredients
- 2 cups granulated sugar for classic sweetness or organic cane sugar works well too
- 1 cup unsalted butter, softened
- 2 large eggs, well beaten
- 1 cup full-fat sour cream
- 1 teaspoon pure vanilla extract
- 1 heaping teaspoon baking soda
- 1 teaspoon baking powder
- ½ teaspoon salt
- 5½ to 6 cups all-purpose flour
- Optional: nutmeg, coarse sugar, or sprinkles for topping
Instructions
Cream the butter and sugar:
- In a large mixing bowl, beat together 1 cup softened butter and 2 cups sugar until light and fluffy. This step creates the base for soft, tender cookies.
Add wet ingredients:
- Mix in 2 well-beaten eggs, 1 cup sour cream, and 1 teaspoon vanilla extract. Stir until smooth and creamy. The sour cream adds moisture and gives the cookies their fluffy texture.
Combine dry ingredients:
- In a separate bowl, whisk together 1 heaping teaspoon baking soda, 1 teaspoon baking powder, ½ teaspoon salt, and 5½ cups flour.
- Gradually add the dry ingredients to the wet mixture, about one cup at a time, until a soft dough forms. Add up to ½ cup more flour if needed — the dough should be slightly sticky but not wet.
Roll out the dough:
- Lightly flour your countertop and rolling pin. Roll the dough to about ¼ inch thick for soft, fluffy cookies.
Cut out shapes:
- Dip your cookie cutters in flour and cut out your favorite shapes: rounds, stars, hearts, all the Christmas shapes. Place them on an ungreased baking sheet, spacing them about an inch apart.
Add toppings (optional):
- Sprinkle with nutmeg, coarse sugar, or festive sprinkles if desired for added flavor and texture.
- Bake at 325°F (163°C) for 7–8 minutes, or until the tops look set and the bottoms are just barely golden. The cookies should stay light in color and soft in the center.
- Cool and enjoy: Let cookies rest on the baking sheet for 2–3 minutes, then transfer to a cooling rack.


Is this an einkorn flour recipe? If not, can I swap out all purpose einkorn flour for the all purpose “modern” flour?